Cover Cropping After Wheat: A Seasonal Checklist
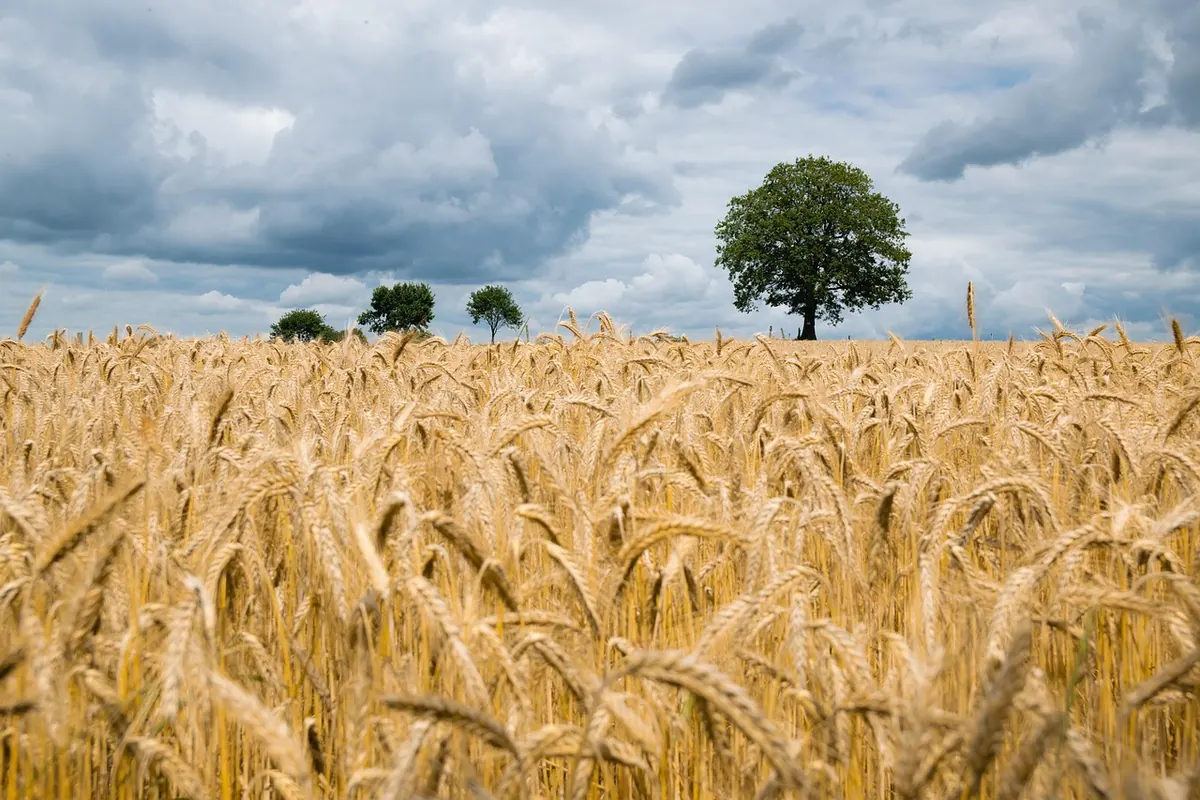
Wheat is off, the straw is still pale, and for a week or two the field looks finished. That is exactly when next season gets decided. A cover crop sown after wheat has a longer, warmer window than almost any other slot in the rotation, but that window closes quickly: sow too late and you are drilling into dry August soil with frost a few weeks away and nothing but a thin, expensive flush of green to show for it. What follows is a working checklist, season by season, for turning that stubble into something useful.
Right After the Combine: The First Ten Days
Everything that happens in this short stretch makes the difference between a cover crop that establishes and one that sulks. Start with the straw. Chop it and spread it evenly behind the combine; windrows smother seedlings and leave strips of bare, capped soil between them. If the straw is heavy and the chopper is spreading poorly, a light harrow pass or a straw rake earns its keep. You do not need a clean seedbed, but you do need seed sitting in contact with soil rather than perched on a mat of residue.
Second, deal with volunteer wheat. It hosts the same pests and diseases you have just finished fighting and, in many regions, acts as a green bridge for rust and aphids into the following crop. Give it a shallow cultivation or a grazing pass of sheep if that fits your system, and do it early rather than letting it tiller through September.
Third, take a soil sample if you have not tested recently, or at least note the field's history. A cover crop is a small investment in seed, fuel and time, and it makes most sense on fields that are erosion-prone, short of organic matter, or leaking nitrogen after a decent wheat crop.
Match the Species to the Job You Actually Have
Cover crops fail more often from a mismatch of goal and species than from bad weather. Decide what you want from the field before you open a seed catalogue.
- Catch and hold nitrogen: white mustard, tillage radish, oats, phacelia. Fast, cheap, and they die back over winter in most cold climates, leaving the nitrogen in the profile rather than in a dead crop you have to manage in spring.
- Fix nitrogen: hairy vetch, winter pea, crimson or berseem clover. Valuable but fussy — they need to be sown early enough to nodulate before the cold, and they need the right inoculant if the species is new to the field.
- Build biomass and stop erosion: cereal rye, winter triticale, black oats. Rye is the reliable workhorse: deep-rooted, winter-hardy, tolerant of late sowing and poor seedbeds.
- Break compaction: tillage radish and other deep tap-rooted brassicas. Best sown by late summer so the roots can size up before the frost.
- Feed livestock: rye, triticale, turnips, and mixes with vetch or pea. Grazing returns most of the nutrients, but plan the exits so the field is not poached.
Winter-kill or winter-hardy?
This is the single most useful choice after wheat. Winter-killed species — oats, radish, phacelia, buckwheat where there is enough heat — leave a mulch and save you a spring termination pass. Winter-hardy species — rye, triticale, hairy vetch in milder areas — give you ground cover and growth right through spring, at the cost of a termination decision. Work out which one your spring cropping can tolerate before you sow.
Decide the termination date before you choose the seed. The species follows from the calendar, not the other way round.
Sowing Windows, Rates and Depth
After wheat, the clock depends on your latitude and the harvest date. In most temperate systems, sowing within two to four weeks of the combine gives the cover crop time to root deeply and, for legumes, to nodulate. Sowing later than early autumn usually means rye or nothing.
Drilling or broadcasting
A drill gives far more reliable establishment, especially in a dry summer, because seed goes into moisture at a consistent depth. Broadcasting works when rain is imminent and you can follow with a light harrow or roller; increase the seeding rate noticeably to allow for the seed that never makes contact. Whatever the method, check the seed tag for germination and purity, and calibrate the drill on the headland rather than trusting the chart.
Typical rates are around 50–90 lb per acre for cereal rye, 30–60 lb for oats, 4–8 lb for tillage radish or mustard, 15–25 lb for crimson clover and 20–30 lb for hairy vetch, but these vary with seed size, seedbed and purpose — follow your supplier's and local advisory recommendations. Shallow-sow the small seeds, roughly a quarter to half an inch for brassicas and clovers, and put rye an inch to an inch and a half deep. In a mix, sow each component at a reduced rate rather than the full monoculture rate.
Autumn: Get the Canopy Closed Before the Cold
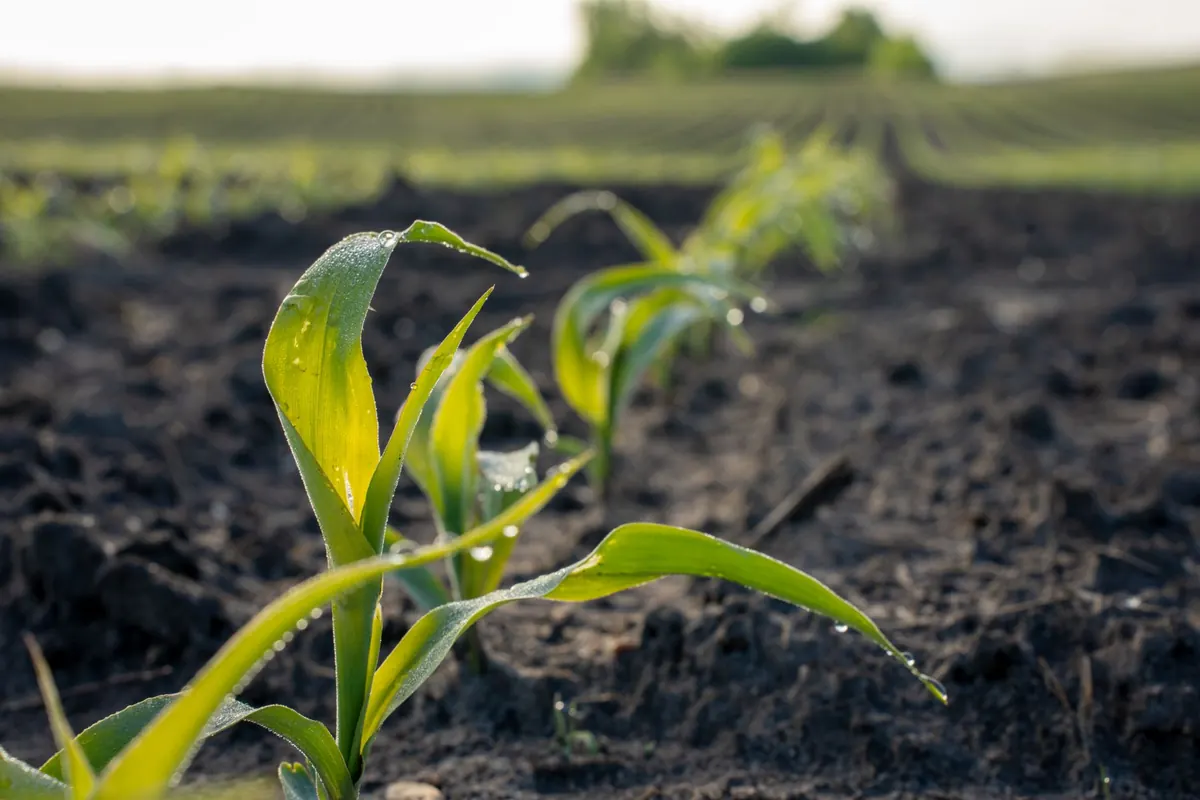
Walk the field three or four weeks after sowing. You are looking for even emergence, bare patches where residue smothered the seed, and slug or insect damage in wet spots. A cover crop that has not closed its canopy by the time growth stops will not protect the soil through winter and will not suppress much in spring.
Resist the urge to apply nitrogen to push a catch crop — it defeats the purpose of catching what is already there. Legume-heavy stands benefit from early sowing rather than feeding. If you plan to graze, introduce stock when the stand is well anchored and the soil is dry enough to carry them, and leave enough residue to protect the surface.
Winter: The Planning Season
Most of the value of a winter cover crop is decided on paper. Note which fields winter-killed and which stayed green, check drainage lines and any erosion rills, and book your spring termination equipment now rather than in the week you want to plant. If your farm programmes or crop insurance have rules about cover crop termination dates or species, confirm them with the relevant agency before spring, not after.
Spring: Terminating With Intent
Termination is where cover crops earn a reputation for trouble. The trick is to kill on time and to leave a residue you can actually plant into.
- Watch the growth stage. Cereal rye is easiest to kill before it heads out; if you are crimping, the stem needs to be at flowering for the roller to do its job. Vetch and clover are best terminated at early flower.
- Work back from your planting date. Aim to terminate two to three weeks before the next crop goes in, so the residue has time to settle and any moisture used by the cover crop can recharge.
- Check soil moisture. In a dry spring, a heavy rye stand can leave the seedbed short of water. Terminate earlier, or plan to plant deeper and later.
- Choose the method to fit the system. Tillage is quick and reliable; a roller-crimper works well on flowering rye and preserves surface cover; mowing leaves a mat that can mat down and slow planting; herbicides need correct timing and active growth for a clean kill. In organic systems, tillage and crimping are the working tools.
- Scout for pests. Dense spring residue can shelter cutworms and other pests — check before planting, especially in the first fields you terminate.
Keep the Record Short and Honest
One page per field is enough: sowing date, species and rate, method, rainfall in the fortnight after sowing, what the stand looked like in November, termination date and method, and what the following crop did. After three or four seasons you will know which species suit your soil and your calendar far better than any general recommendation. The checklist stays the same each year; what changes is how well you read it.
Photo: Tom Fisk / Pexels