Reading Wheat Growth Stages: A Field Guide for Small Growers
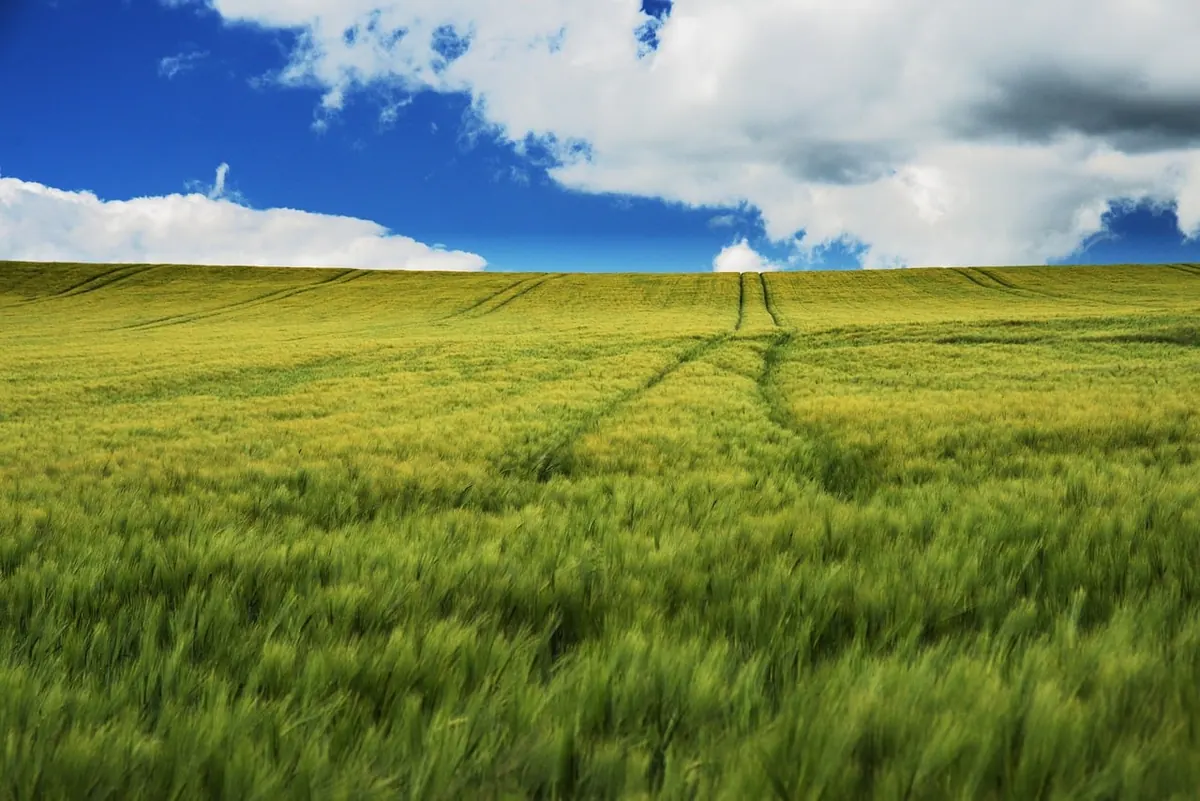
Two fields, same seed, sown within days of each other, and by mid-June one is chest-high and closing ranks while the other looks like it never got the memo. Ask the grower and you will usually hear a story about timing: the top-dressing that went on a fortnight late, the weeds that got a head start, the dry spell that hit while the plants were still deciding how many tillers to keep. Wheat does not keep secrets. It announces every change of gear, if you know where to look and when to look for it.
This guide is for the grower with a garden plot, a quarter acre behind the barn, or a few strips in a community field. You do not need a laboratory to read a wheat crop. You need a boot, a pocketknife, a notebook, and the habit of walking the same row twice a week.
Learn One Scale and Use It Every Year
Agronomists describe wheat growth on the Zadoks decimal scale, which runs from 00 (dry seed) to 99 (over-ripe, ready to shed). The Feekes scale is the older alternative and still appears in some extension literature. You do not need to memorise ninety-nine codes. Learn ten landmarks and you will be able to talk to any seed rep, agronomist or neighbour in the same language.
The point of a scale is that it separates growth stage from the calendar. A cold April can hold a crop at tillering for three weeks; a warm, wet May can push it from jointing to heading in a fortnight. Counting leaves and nodes tells you the truth. The date on the wall does not.
Emergence and Tillering: Zadoks 10 to 29
Emergence is the easy part to spot. The first green shoot pushes through the coleoptile, a pale sleeve that protects it on the way up. Within days you have a two-leaf seedling, then three. Around the three-to-four leaf stage the plant starts producing tillers — side shoots from the base that will, if conditions allow, each carry their own head.
Tillering is where yield is largely decided. Winter wheat does most of this in autumn and picks up again in early spring; spring wheat compresses the whole business into a few frantic weeks. Go out and dig up five or six plants from different parts of the row. Split them with your thumbnail and count the tillers. A thin stand with strong tillering can still fill a row; a thick stand of single-stem plants usually means competition has already done damage.
What to watch in this window:
- Plant density and gaps. Walk the row and note bare patches — often a planter or drainage issue, not a seed issue.
- Weed pressure. Early weeds take light and nitrogen that tillers need. This is the most cost-effective moment to act.
- Colour and vigour. Pale, spindly seedlings may be short of nitrogen or sitting in waterlogged ground. Check the soil before you blame the seed.
- Grazing or pest damage. Rabbits, deer and birds can thin a small plot fast; look for clipped leaves and droppings.
Stem Elongation: Zadoks 30 to 39
Jointing begins when you can feel the first node as a hard lump on the stem, just above the crown. From here the plant changes its priorities: it stops making tillers and starts building the stem that will hold the head. Some late tillers will abort, and that is normal.
This is also the stage when the growing point rises above soil level, which matters if you farm where late frosts are possible. A hard frost at jointing can damage the shoot inside the stem; you will not know for a week, when the head emerges pale and empty. Watch the forecast rather than the calendar.
Nitrogen timing decisions usually land somewhere between tillering and early stem elongation. Applying too much too early encourages lush growth and lodging; too late and you lose the chance to influence grain number. Follow local guidance for your soil and wheat type rather than a rule copied from another region.
Around Zadoks 37 to 39 the flag leaf appears — the last leaf below the head, and the single hardest-working leaf on the plant. Treat it well. Once it is out, avoid trampling through the crop; every broken stem is a lost head.
Booting, Heading and Flowering: Zadoks 41 to 69
The boot is the swollen sheath at the top of the stem with the head tucked inside. Split one open with a knife: you will find the developing spike, complete with tiny awns. A few days later the head pushes free, and flowering follows — first at the middle of the spike, then up and down.
Flowering is short, often only a few days per head, and it is the most sensitive period in the crop's life. Look for the yellow anthers hanging out of the spikelets. When they turn pale and papery, flowering on that head is done. Wet, humid weather at this stage favours head diseases, so this is the moment to be scouting rather than guessing — and to seek local advice on whether a spray is warranted, since products and approvals vary enormously by country.
Heat at flowering is the other risk. A short, sharp spell can reduce grain set even when the crop looks fine.
Grain Fill: Zadoks 71 to 89
After flowering, the head does the only thing left to do: fill. Squeeze a grain between finger and thumb and you can follow the whole process. At watery ripe the grain is a clear droplet. Then it turns milky — first thin, then thick and doughy. Soft dough leaves a thumbnail dent; hard dough resists it.
This is when the flag leaf and the awns earn their keep, and when water matters most. A crop that runs dry at milk stage will fill light grains regardless of how good the spring was. Keep scouting for rusts and aphids, and keep an eye on lodging after heavy rain, especially where nitrogen was generous.
Ripening and the Harvest Window: Zadoks 91 to 99
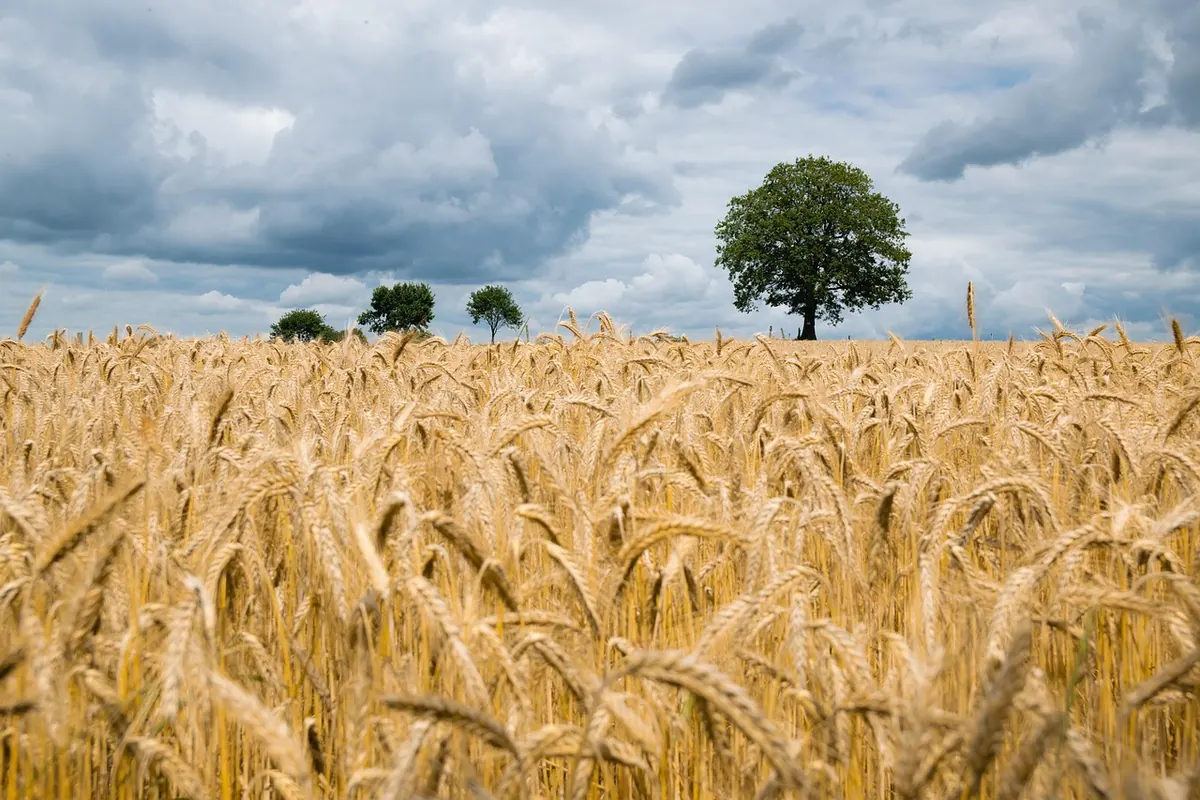
Ripening announces itself in colour: the peduncle below the head yellows, then the head, then the whole plant. Inside, the grain hardens until it cannot be dented by a thumbnail and splits rather than squashes when bitten.
Harvest somewhere between hard dough and fully ripe. If you are cutting by hand or with a small machine, starting slightly early is often kinder than waiting — grain shatters from over-ripe heads, and wet weather at this stage can sprout grain in the head and ruin it for flour. Cut a few heads, rub out the grain and test it. If it squashes, wait. If it snaps, get moving, and plan to dry it if moisture is still high.
Keep a Stage Log, Not Just Memories
The growers who read their wheat well are rarely the ones with the best memories. They are the ones who write things down. A cheap notebook, one page per field per season, is enough. Each visit, record the date, the growth stage, what you counted or saw, and what you did about it.
A ten-minute scouting loop works well:
- Walk a diagonal across the plot, stopping at five points.
- At each stop, dig one plant and check the growing point, stem and leaf count.
- Note weeds, discoloured leaves, bare patches, and anything chewing.
- Write the stage code next to the date.
- Compare with the previous visit before you leave the field.
After two or three seasons, that notebook becomes the most useful piece of equipment on the farm. It tells you how your ground, your weather and your wheat actually behave — which is worth more than any general guide, this one included.
Photo: meisterbuehler / Pixabay